How Do Chest Freezers Work?

Chest freezers are essential appliances for households that need extra storage for frozen goods.
Unlike upright freezers, chest freezers provide a spacious, open layout that makes them perfect for storing bulky items or large quantities of food. But how exactly do chest freezers work, and how can you keep them running efficiently? Let’s find out.
KEY TAKEAWAYS
- Chest freezers use a refrigeration cycle where the compressor pressurizes refrigerant, which then moves through condenser coils to cool down, and finally into the evaporator, where it absorbs heat to keep the freezer's interior below freezing. A thermostat regulates the temperature, while insulation and a sealed lid maintain energy efficiency.
- Regular defrosting is crucial to maintain efficiency. Steps include unplugging the freezer, draining melted frost, manually removing ice with a plastic scraper, cleaning and drying the interior, and restoring the drain plugs before restarting and restocking the freezer.
- Routine care like cleaning condenser coils, checking the lid seal, organizing the interior, and ensuring the freezer sits on a level surface can extend its lifespan. Professional maintenance is recommended for those with significant frozen food investments, ensuring the appliance operates reliably.
How Chest Freezers Work: The Basics
At the core of a chest freezer’s operation lies a simple refrigeration process. Here’s how it works step-by-step:
The Compressor Starts the Cycle
The compressor pumps refrigerant gas through the system. The compressor pressurizes the refrigerant gas, which raises the refrigerant’s temperature.
Condenser Coils Cool the Refrigerant
The hot, pressurized refrigerant moves through condenser coils on the outside of the freezer or inside the chest freezer cabinet walls – depending on your model.
As the refrigerant cools down in the condenser coils, it turns into a high-pressure liquid.
The Evaporator Absorbs Heat
The liquid refrigerant passes through a capillary tube or expansion valve to lower the liquid refrigerant’s pressure and spray the refrigerant liquid into the evaporator.
Inside the freezer compartment, the low pressure refrigerant liquid absorbs heat as it evaporates back into a gas. This cools down the freezer interior below freezing.
The evaporator inside the chest freezer is refrigerant tubing that runs through the inside walls of the freezer just inside the freezer compartment liner.
The Cold Control Thermostat Maintains Cold Temperatures
A thermostat monitors the internal temperature and cycles the compressor on and off to maintain freezer temperature around 0 degrees or lower depending on the thermostat setting that you choose.
Chest freezers rely on insulation and a sealed lid to maintain low temperatures. This design minimizes energy use and keeps food frozen even during brief power outages.
How to Defrost a Chest Freezer
Over time, frost can build up inside your chest freezer, reducing efficiency and storage space. Defrosting your freezer restores its performance.
When your freezer has 1/4 to 1/2 inch of frost lining the inside walls, it's time to defrost.
Here’s how to do it:
Store Your Food
Start by moving the frozen food to ice chests to keep it cold and then unplug the freezer.

Prepare the External Drain
Follow these steps to deal with water that will drain out of the freezer during the defrost process:
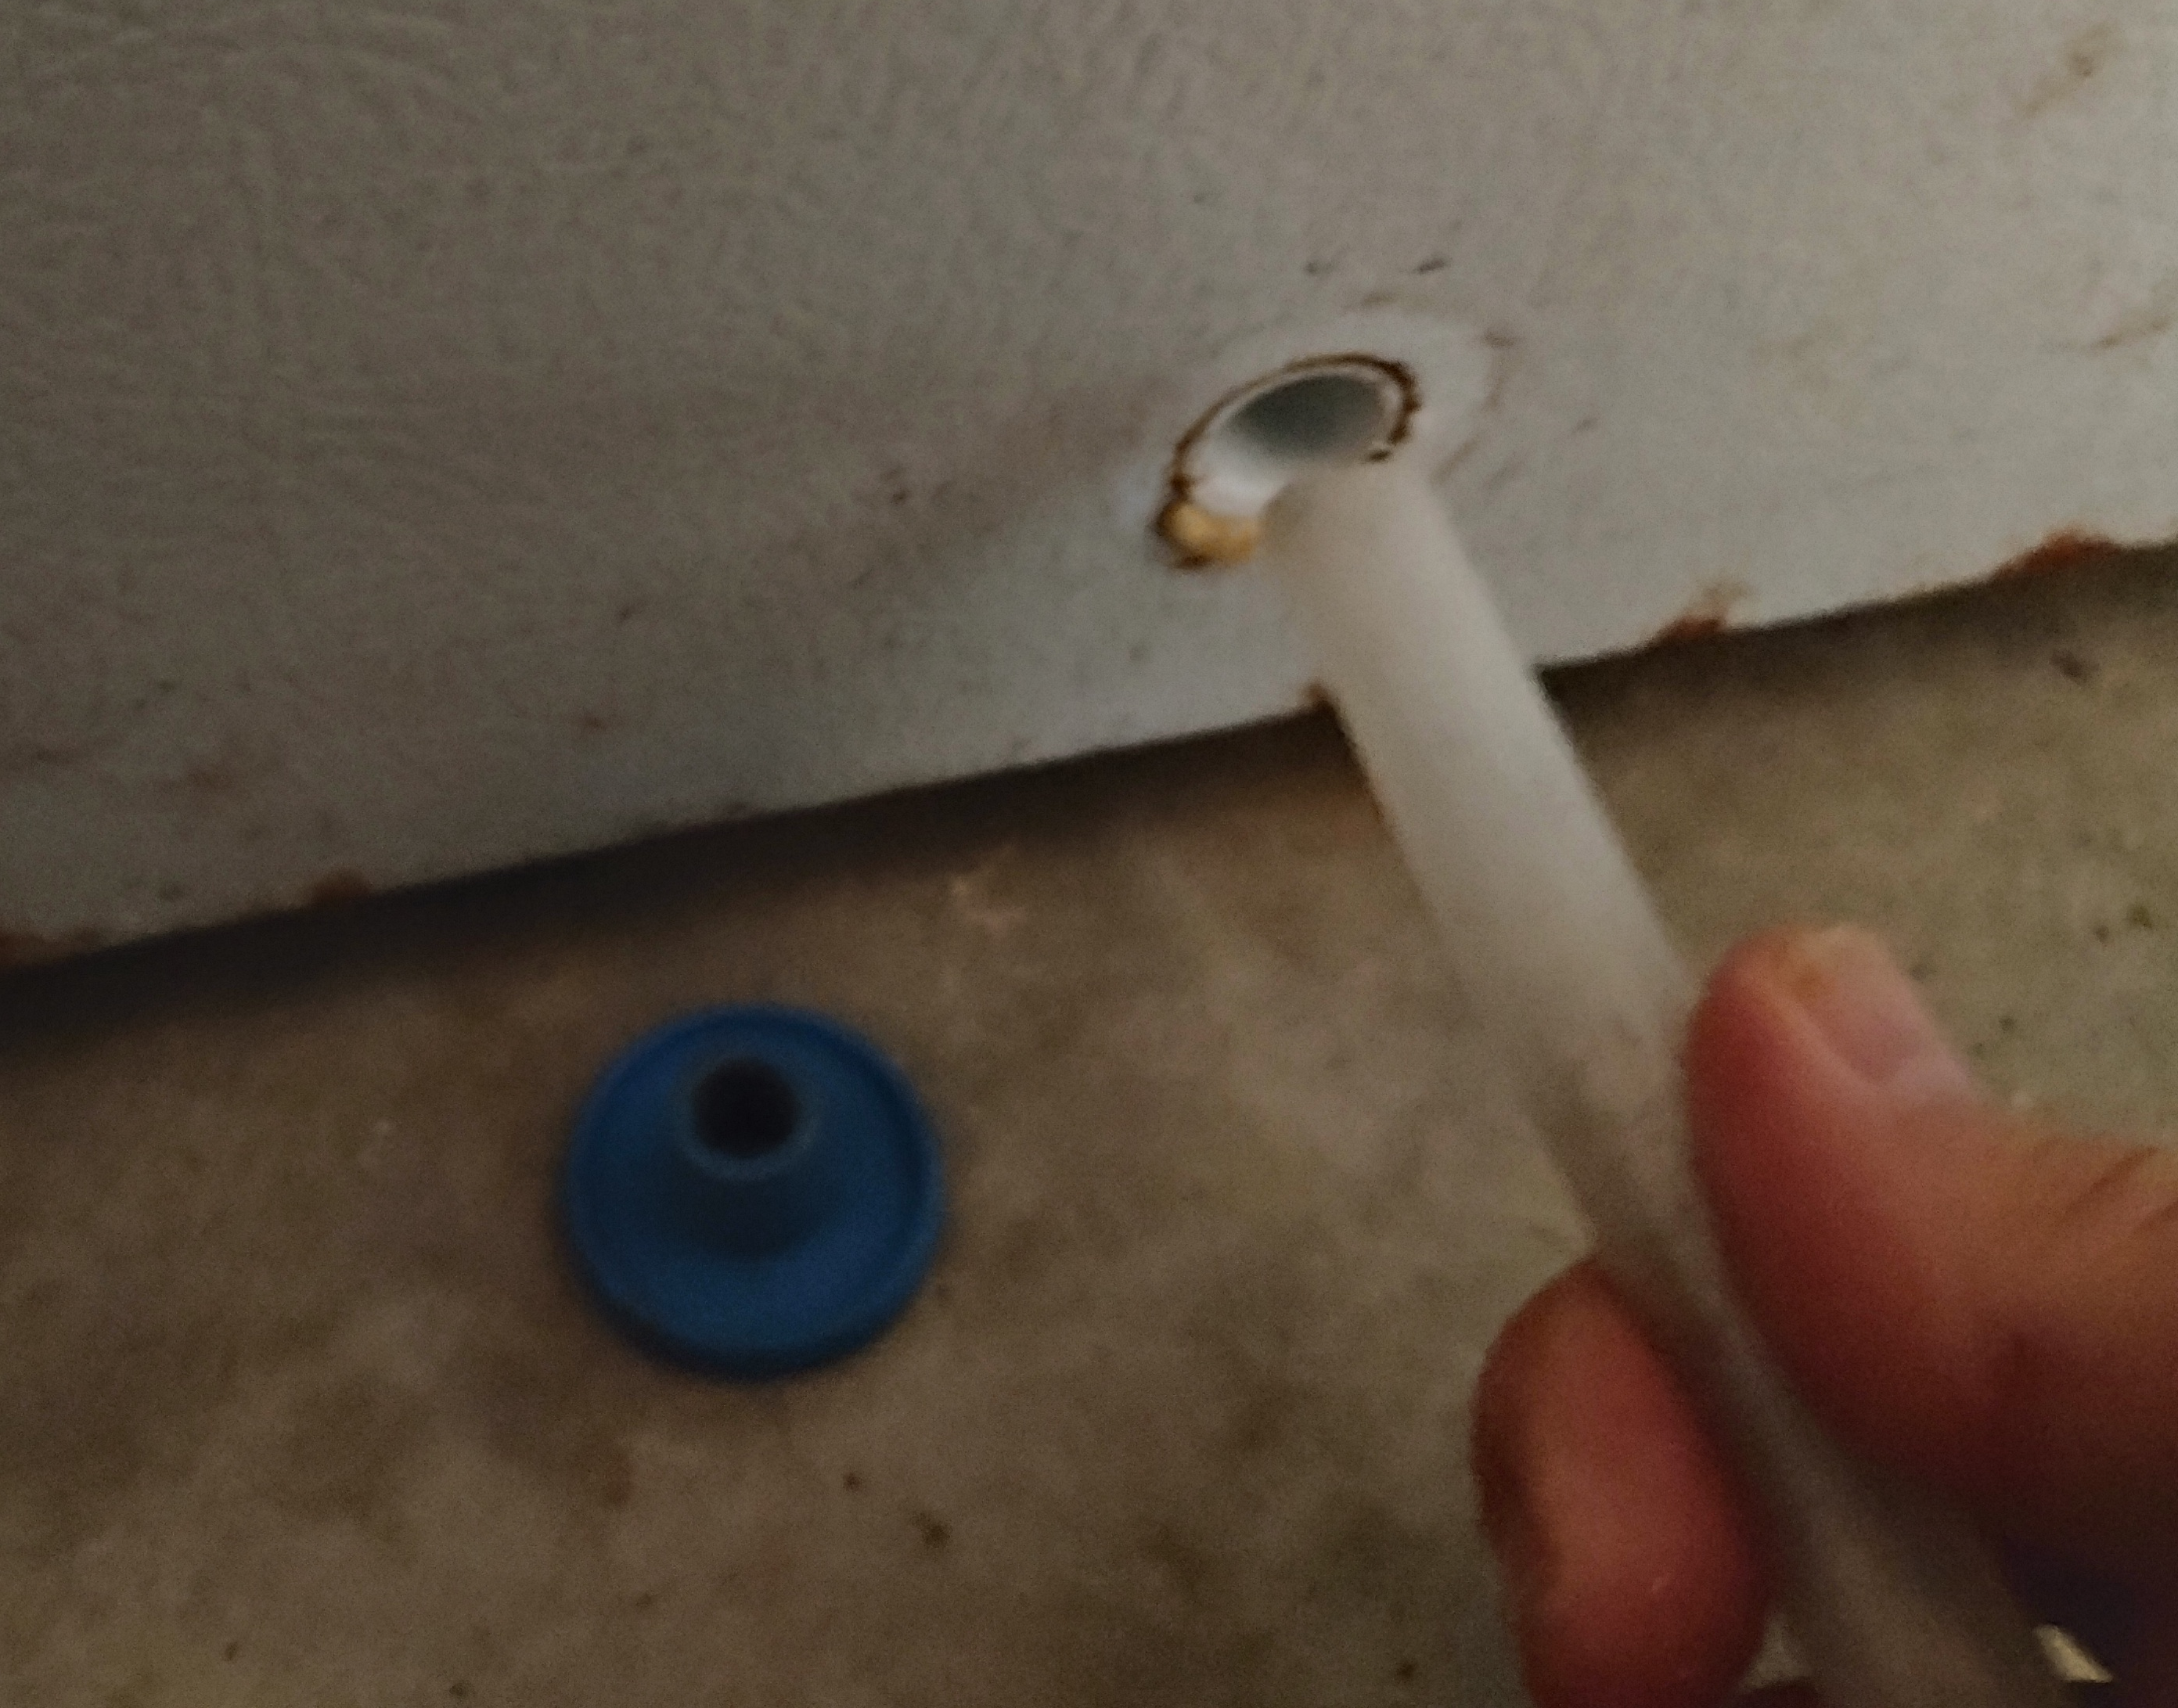
- Locate the exterior defrost drain plug and remove it.
- Place a shallow drain pan under the exterior drain plug or connect a ½-inch drain tube to the drain. You can also use a ½-inch garden hose adapter to connect a garden hose to freezer drain. Route the drain tube or garden hose to a floor drain or the outside of your home.
If you use a drain pan to collect water, you’ll need to monitor the water level in the pan and empty it during the defrost process to prevent it from overflowing.

Remove the Internal Defrost Drain Plug
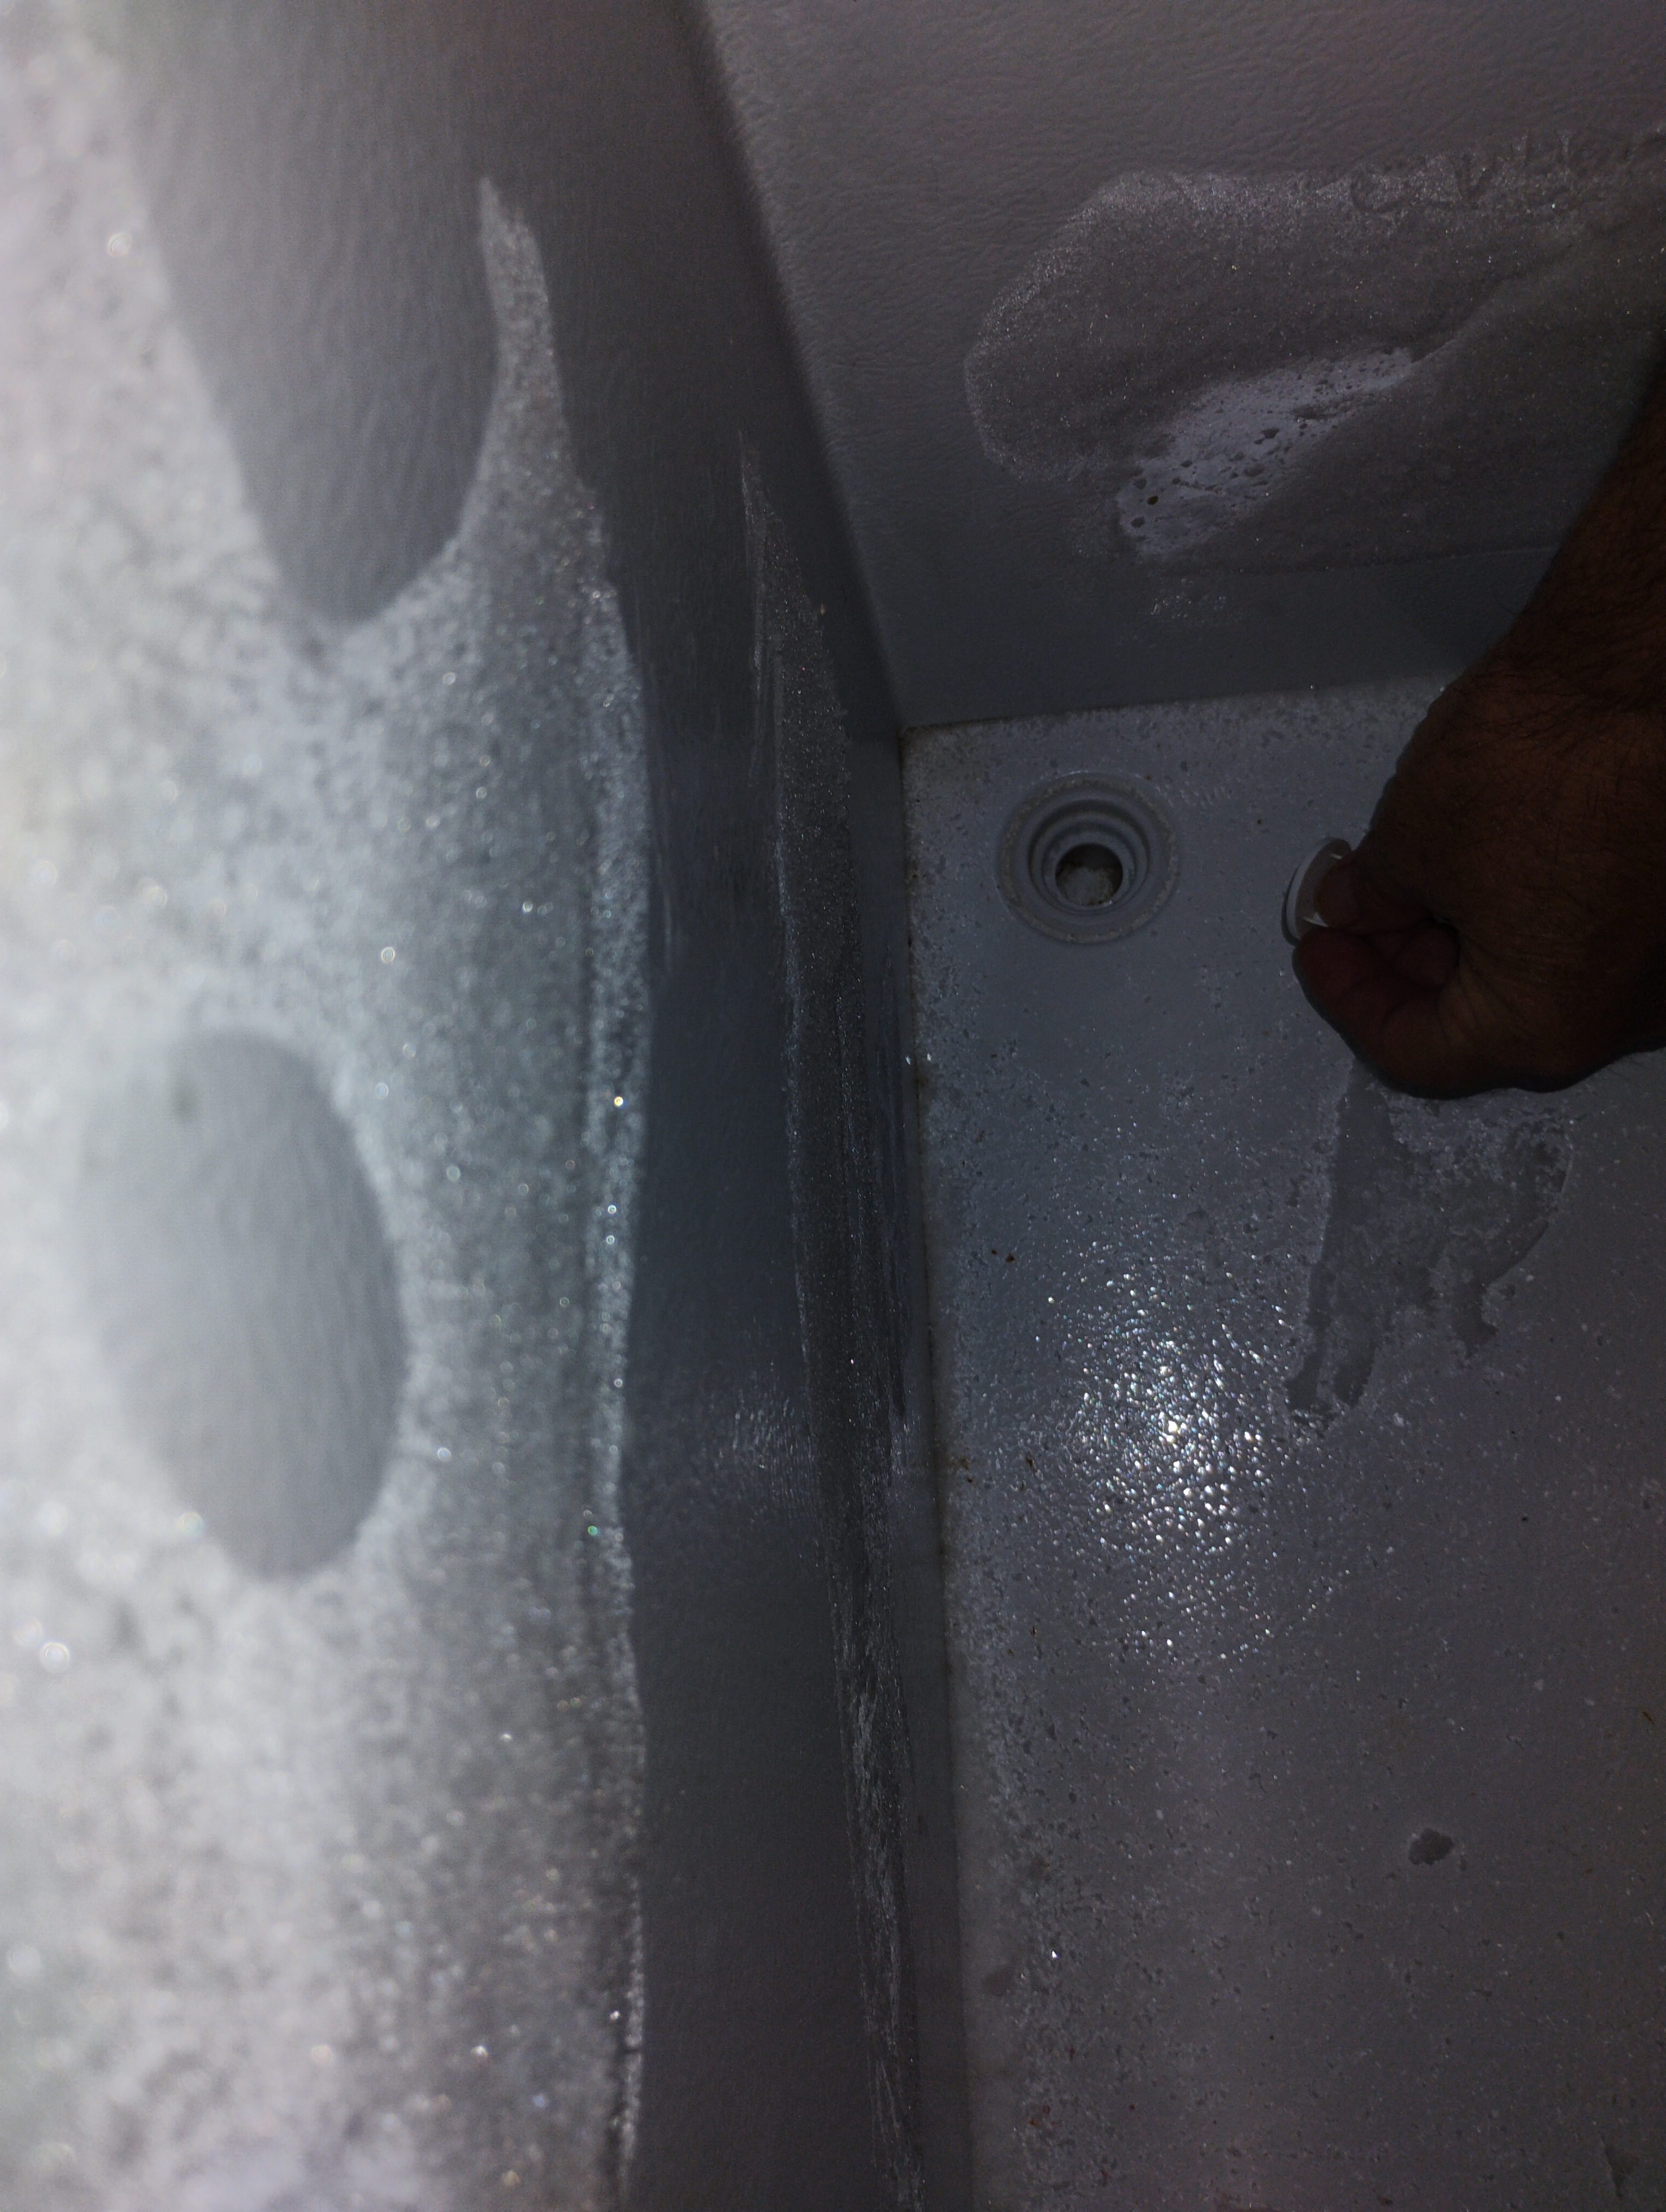
Pull out the internal defrost drain plug from the bottom of the freezer compartment so water will drain out of the cabinet during defrosting.
Defrost the Freezer
- Leave the freezer lid open and allow frost to melt off the freezer walls and floor.
- To speed up the defrost process, use a spray bottle to spray water on the frost so it melts faster.
- As the ice and frost softens, use a plastic scraper to gently remove chunks of frost and ice. Avoid metal tools, which can damage the interior.
- When all of the frost is melted off and removed from the walls and floor of the freezer, wipe out remaining water on the freezer floor with dry towels.
- Reinstall the interior defrost drain plug.
- Wipe down the interior of the freezer with a solution of warm water and mild detergent.
- Wipe down the interior surfaces with plain water to remove detergent residue.
- Dry the freezer interior completely to prevent new ice from forming quickly.
- Remove the drain pan or drain hose from the exterior drain and reinstall the exterior drain plug.
Restock and Restart the Freezer
Plug the freezer back in and make sure it starts cooling.
Restock the food and monitor the freezer to make sure that it maintains the right temperature.
If the freezer doesn’t cool properly, schedule freezer repair service and we’ll send a technician to your home to fix the problem.
Chest Freezer Maintenance Tips
A little regular maintenance goes a long way in extending the life of your chest freezer. Follow these tips to keep it running smoothly:
Check the Lid Seal
Inspect the gasket around the lid regularly. If the seal appears cracked or loose, replace it to prevent cold air leaks.
Clean the Condenser Coils
If your chest freezer has exposed condenser coils, dust or vacuum the condenser coils at least twice a year. Clean coils improve efficiency and reduce energy costs.
Organize the Interior
Use bins or baskets to group similar items together. This makes it easier to find what you need and reduces how long the lid stays open.
Set the Right Temperature
Keep your freezer at 0°F (-18°C) for optimal performance. Use a freezer thermometer for accuracy.
Keep it Level
Ensure the freezer sits on a level surface. An uneven freezer can cause compressor issues over time.
Schedule Professional Maintenance
Annual professional freezer maintenance will keep your appliance in top shape and running smoothly. Our technician will visit your home and check all parts of your freezer including the wiring, condenser coils, lid gasket and cold control thermostat.
The tech will recommend any repairs needed and make adjustments necessary to keep your freezer in top shape and operating properly.
Professional freezer maintenance is especially beneficial if you’re storing a large amount of meat or produce in your freezer that you can’t afford to lose because of an unexpected freezer failure.
Troubleshooting Common Chest Freezer Problems
Chest freezers are reliable, but they can encounter problems. Here are common issues and how to address them:
Freezer Not Cooling
Follow these troubleshooting tips to resolve a problem with the freezer not cooling:
Check the Power
- Make sure that the power cord is securely plugged into the electrical outlet.
- Check the electrical outlet for power by plugging in a night light or similar small electrical item.
- If the electrical outlet isn’t working, reset the house circuit breaker for the freezer’s electrical outlet.
- If the outlet still doesn’t work, have an electrician fix the electrical outlet.
Inspect the Cold Control Thermostat
Adjust the thermostat and listen for the compressor to start.
If the compressor doesn’t start, unplug the freezer power cord and check the wiring connections on the cold control thermostat.
Reconnect any loose wires and repair any broken wires. Here’s a video that shows how to repair wires:
If you’re not confident that you can safely repair damaged wiring on your own, schedule freezer repair service and we’ll send a Sears Home Services technician to your home to fix the wires for you.
Clean the Condenser Coils
Dirty condenser coils will prevent refrigerant from cooling properly during the cooling cycle and the freezer won’t be able to maintain the set temperature.
When you have a freezer with exposed condenser coils, clean dust and dirt off the coils if they’re dirty.
Excessive Frost Buildup
Frost buildup in a chest freezer is typically caused by a damaged or loose lid gasket.
Inspect the lid gasket and adjust it if needed so it seals properly.
Replace a damaged gasket to prevent moisture from entering the chest freezer.
Unusual Noises
Knocking noises coming from the compressor typically indicate an internal compressor failure. This type of problem will almost always need to be addressed and repaired by a service technician.
If you hear the compressor try to start followed by a clicking noise, the compressor may be locked up and need replacing or a bad start relay on the compressor is preventing the motor from starting.
If you’re suspect that the freezer has a bad start relay and you’re confident in your DIY skill, you can unplug the freezer and replace the start relay by carefully following the steps in this illustrated repair guide:
How to replace a freezer compressor start relay
Of course, if you’re not confident that you can find a fix the noise problem in your freezer on your own, schedule freezer repair services and we’ll send a technician to your home to fix the problem for you.
Chest freezers are straightforward appliances, but they require regular care to perform at their best.
By understanding how they work, defrosting them properly, maintaining their components, and addressing common issues, you can ensure your freezer runs efficiently for years.
Schedule your freezer repair now!
Trust our skilled technicians to repair your freezer promptly, regardless of where you bought it.
Was this information helpful?
Repair Freezer Resources
Find out how frost free freezers work and how to troubleshoot common problems.
Learn what your freezer’s temperature should be and how to safely preserve your food.
Is it worth repairing a freezer? Explore the pros and cons and make the right choice for your budget with Sears Home Services.
Learn how to tackle and prevent ice buildup in your freezer with our practical guide. Discover common causes, effective removal techniques, and tips for maintaining a frost-free appliance.
Glossary Terms
A freezer bag is a specially designed plastic bag used for the cold storage of food in the freezer, offering protection against freezer burn and preserving the food's freshness and flavor over extended periods.
A freezer compressor is a vital component of a freezer's refrigeration system, functioning as a pump to circulate refrigerant through the system, which cools the interior by absorbing and expelling heat.
A freezer door gasket is a flexible seal that outlines the edge of the freezer door, ensuring an airtight closure to maintain cold temperatures inside and prevent warm air from entering.
A manual defrost freezer is an appliance that needs to be switched off and allowed to thaw periodically to remove accumulated ice, ensuring efficient operation and storage space maximization.
Common Repair Freezer Symptoms
The most common reasons your Whirlpool freezer won't make ice are a failed compressor, old water filter or a faulty dispenser.
The most common reasons your Whirlpool freezer is not working are a failed compressor, malfunctioning electronic control board or a faulty condenser fan motor.
The most common reasons your Whirlpool freezer is not cooling are a failed compressor, malfunctioning electronic control board or a bad evaporator.
The most common reasons your Whirlpool freezer light is not working are a malfunctioning electronic control board, broken LED light assembly or a bad power supply board.
The most common reasons your Whirlpool freezer is leaking water are a clogged drain tube, cracked water tubing or a bad evaporator.
The most common reasons your Whirlpool freezer is leaking are a clogged drain tube, dead ice maker assembly or a bad evaporator.


